Closing circular knitting
can be challenging. This is only one way but it is my favorite. The difference in the coloring of the pictures refects the distance from the knitting to the camera.
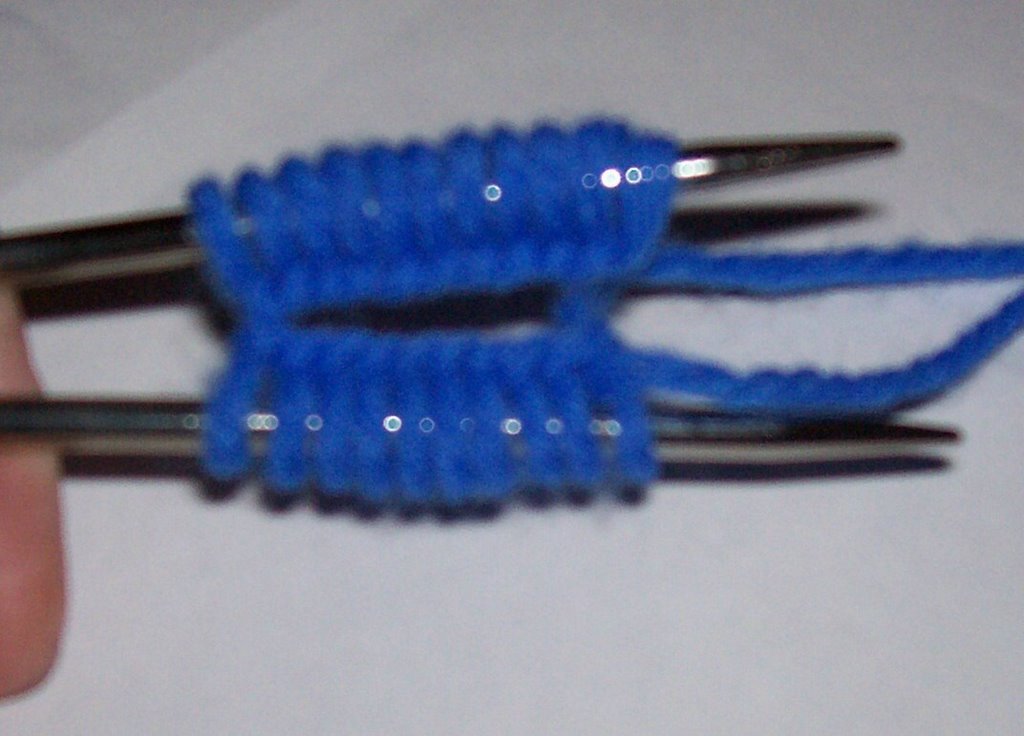
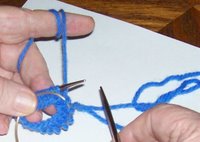
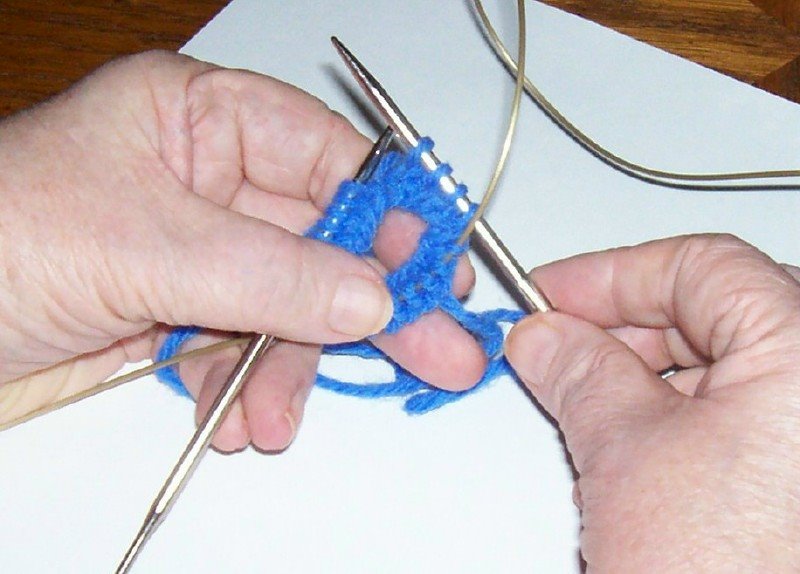
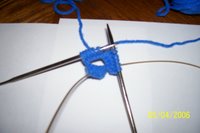
Cast on over two needles with long tail cast on. Cast on one extra stitch for the closure.
Pull the cable out between the center stitches and slide the stitches to the needles. Position the cast on to the center of the needles carefully to avoid twisting your knitting. The bottom needle is the right hand needle and it has the extra stitch on it.

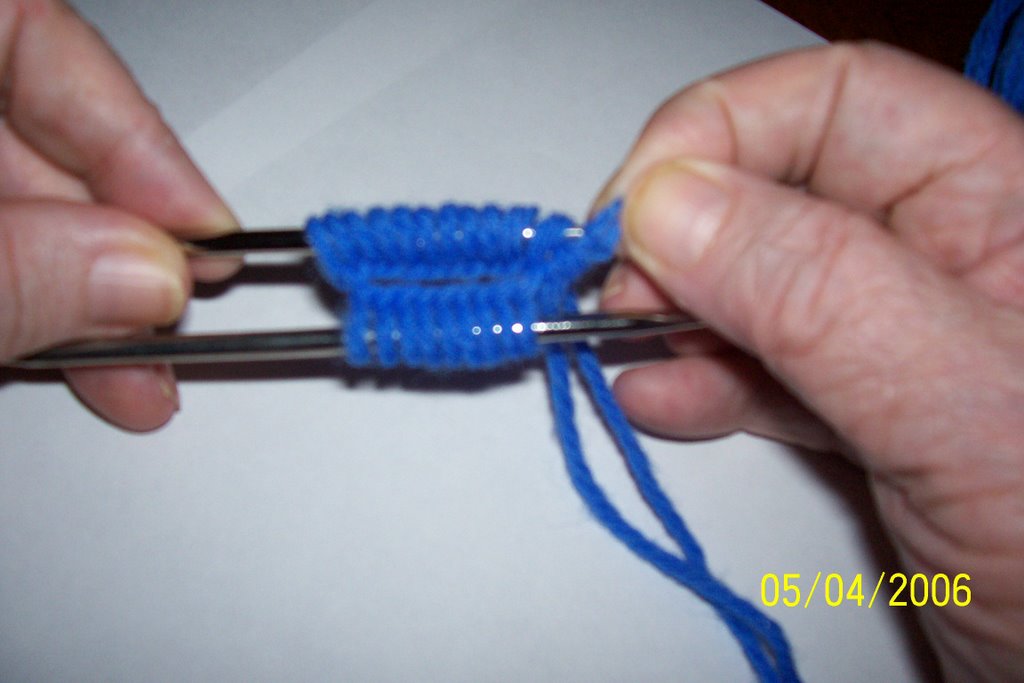
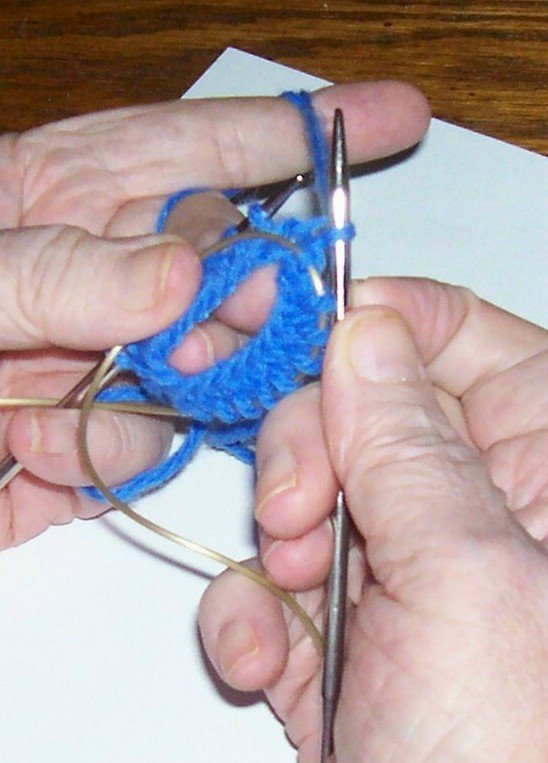
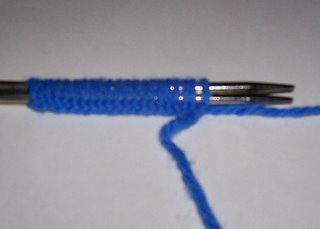
Slip the extra stitch from the right hand needle to the left hand needle.
Insert your right hand needle through this last stitch and pull the first stitch through. It is okay if that stitch stretches out when you do this. Drop both stitches from the needle and then replace the first stitch back on the needle.

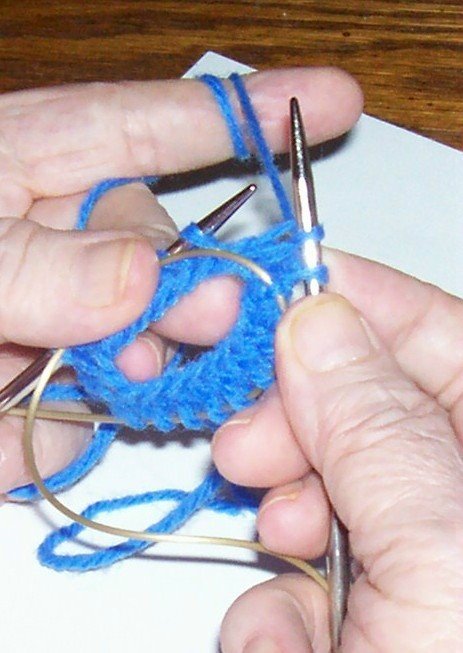
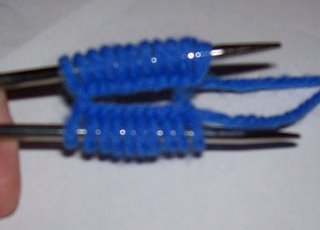
Pull on the yarn to tighten up the stitch and close the circle. Now you can pull your right hand needle through to form a loop and begin knitting. Keep tention on the yarn until you have completed the first two stitches.
Here is a picture of a magic loop. Beginning with the left needle, follow to the back of it, down the cable and around until it goes through the stitches on the bottom, around the second loop to the right needle and back through the stitches.